project
February 7, 2022
11 min read
721 views
IoT Pet Feeder
Scheduled pet feeder with servo, RTC, and web interface.

Project Overview
Scheduled pet feeder with servo, RTC, and web interface.
Bill of Materials (BOM)
- ESP8266/ESP32 board
- a servo or stepper motor to dispense food
- a container for the food
- a real-time clock (RTC) module for scheduling
- and buttons or a web interface for manual feeding.
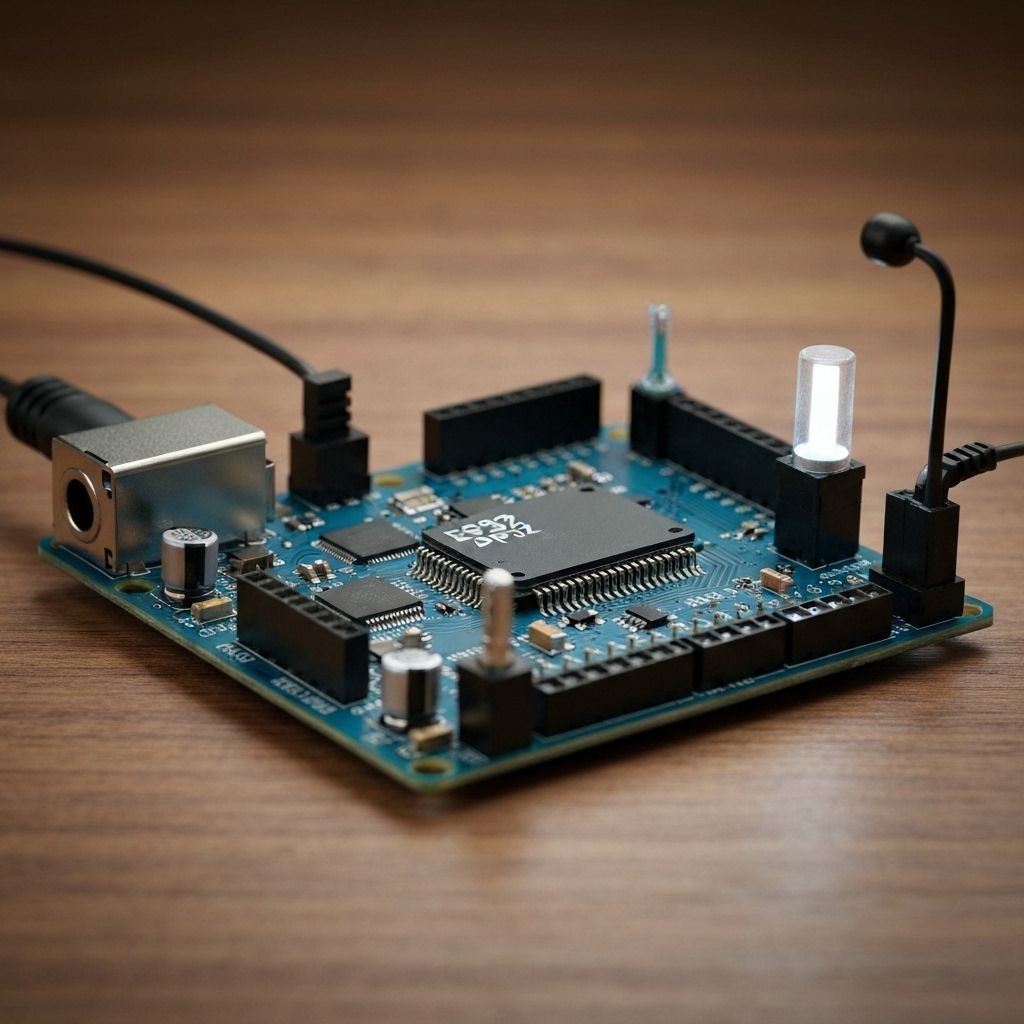
Circuit Diagram & Component Arrangement
Follow the wiring diagram below. Each component connects to specific pins on the microcontroller. Use a breadboard for prototyping and ensure all connections are secure before powering on.
Wiring Summary: The RTC module is connected via I2C to the ESP board to keep time. At scheduled times, the ESP board activates the servo/stepper motor to open a gate and dispense a measured amount of pet food.
Step-by-Step Procedure
- Step 1 - Prepare Components: Gather all components from the BOM. Inspect for damage and verify ratings.
- Step 2 - Breadboard Layout: Place the microcontroller on the breadboard. Arrange components for clear wiring paths.
- Step 3 - Power Connections: Connect VCC and GND first. Ensure proper polarity for polarized components.
- Step 4 - Signal Wiring: Connect sensors and actuators per the wiring table. Double-check pin assignments.
- Step 5 - Upload Code: Connect USB, load the sketch, and upload. Verify serial output if applicable.
- Step 6 - Test & Calibrate: Power on and test each function. Calibrate sensors if needed.
- Step 7 - Enclosure (Optional): Mount in a 3D-printed or custom enclosure for durability.
Safety Notes
- Always disconnect power before making wiring changes.
- Use appropriate eye protection when soldering.
- Adult supervision is required for makers under 16.
- Do not exceed voltage ratings of components.

Manish Bookreader
Electronics enthusiast, Embedded Systems Expert, Linux/Networking programmer, and Software Engineer passionate about AI, electronics, books, and cooking.