JTAG Debugging Without a Hardware Debugger: OpenOCD + Black Magic Probe
A Black Magic Probe built from a $4 STM32F103 board gives you a GDB server directly over USB. Setup, SWD pinout, and the one gotcha on multi-core targets.
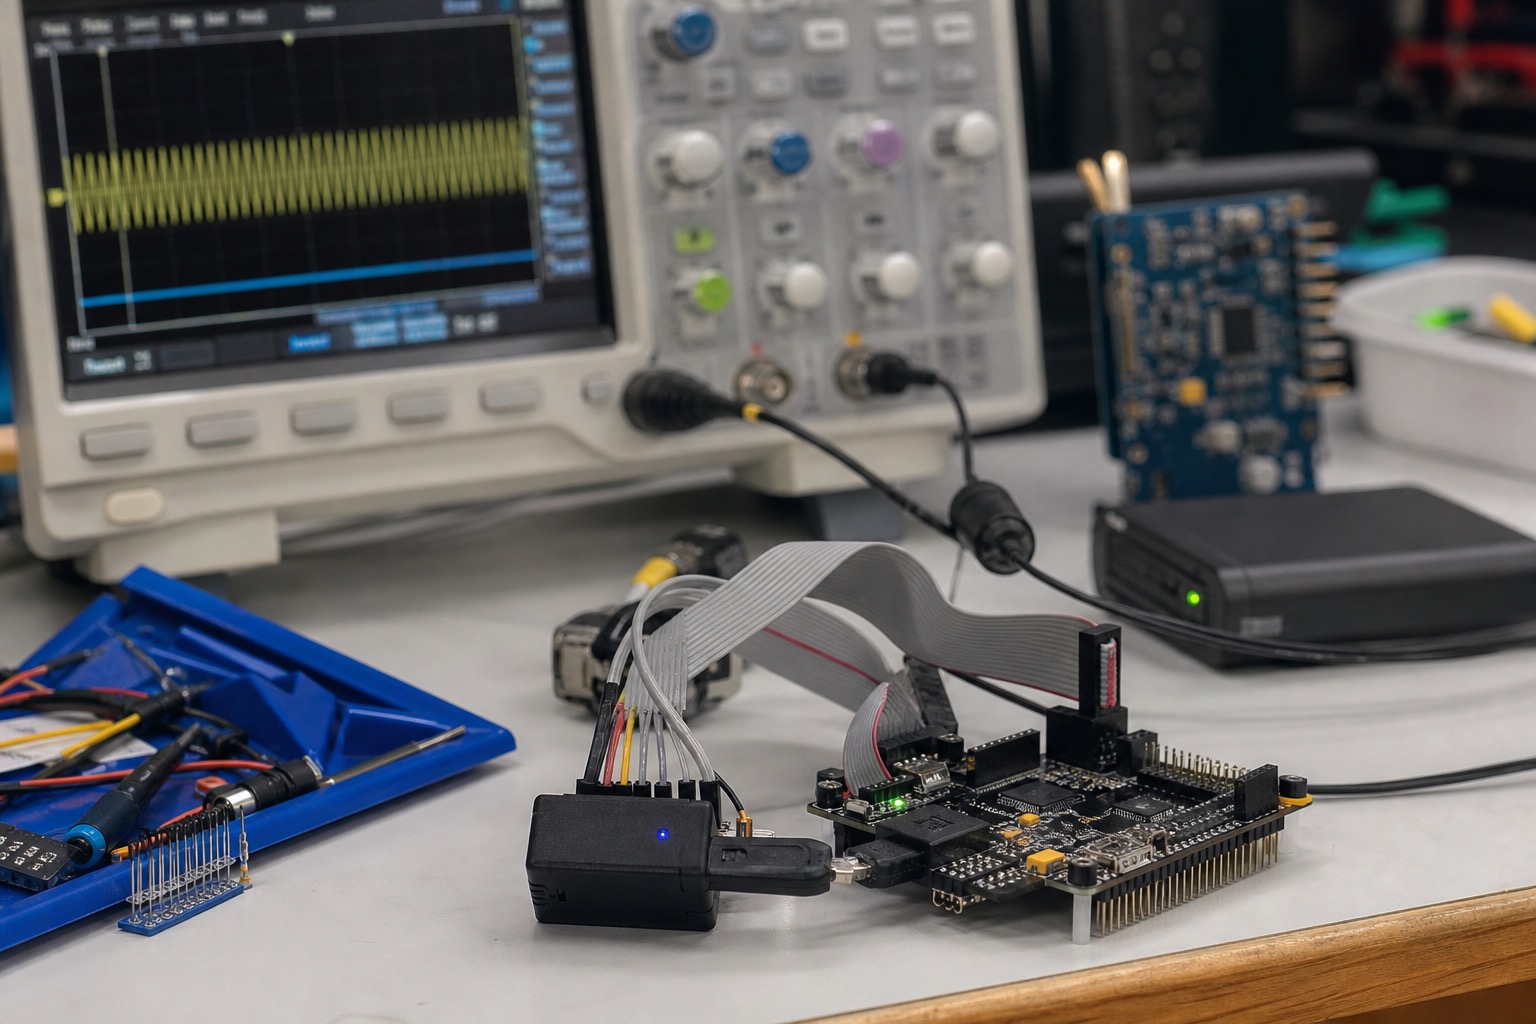
A Black Magic Probe (BMP) turns a $4 STM32F103C8 "Blue Pill" into a USB-attached GDB server—no OpenOCD config archaeology for supported targets. I use BMP for daily SWD work and keep OpenOCD for exotic adapters and CI. This is the setup that survived three product generations.
Why BMP instead of vendor probes
ST-Link V2 clones cost $9 and work until they do not—driver fights on macOS, SWD instability on long cables. Segger J-Link Base is excellent at $600; hard to justify for every engineer's laptop bag.
BMP firmware (tag v1.10.0 when I last flashed) presents:
/dev/ttyACM0— GDB remote serial protocol/dev/ttyACM1— optional semihosting UART
Single USB cable, no openocd -f board/... per target.
Building/flashing BMP on Blue Pill
- Clone
https://github.com/blackmagic-debug/blackmagicatv1.10.0 make PROBE_HOST=swlink(ST-Link swd link) orbluepillplatform target per current README- Flash BMP bootloader + firmware via ST-Link to the F103
- Connect target SWD: SWDIO, SWCLK, GND, 3V3 (optional target power sense)
SWD pinout (ARM 10-pin Cortex debug, top view):
| Pin | Signal |
|---|---|
| 1 | VREF |
| 2 | SWDIO |
| 3 | GND |
| 4 | SWCLK |
| 7 | GND |
Use 10 cm cables max on noisy benches. See oscilloscope trigger cheat sheet for catching SWD setup violations.
GDB session (typical)
arm-none-eabi-gdb build/firmware.elf
(gdb) target extended-remote /dev/ttyACM0
(gdb) monitor swdp_scan
(gdb) attach 1
(gdb) load
(gdb) continue
monitor swdp_scan finds targets on the SWD bus—critical when you have a board with multiple MCUs (only one powered).
OpenOCD when BMP is not enough
I still use OpenOCD 0.12.0 for:
- RP2040 dual-core debug with selective core attach
- CI automation where telnet
reset haltscripts integrate with pytest - Flash protection unlock sequences not exposed on older BMP builds
openocd -f interface/cmsis-dap.cfg -f target/stm32f1x.cfg
# telnet localhost 4444
# reset halt; flash write_image erase firmware.hex 0x08000000
Multi-core gotcha
On STM32H745 (M7 + M4), BMP attaches to the boot core only. You must:
- Halt M7
- Release M4 from reset via
0x5C001000register writes—or use OpenOCD'scortex_mdual-core scripts
Forgot this once; spent two hours wondering why M4 UART was dead while "GDB showed running." BMP documentation mentions this; read it before bring-up day.
For I2C issues uncovered during debug sessions, logic analyzer I2C glitches is the companion note.
What I'd do next
- Standardize on BMP v2 hardware (native USB-C, better level shifters) for new hires—Blue Pill builds are a fun Friday project, not onboarding critical path.
- Add SWD chain order to schematic symbol notes when coprocessors land.
- Keep one OpenOCD config repo per product line for CI only—do not make juniors maintain two debug paths manually.
Flash erase and reset semantics
BMP monitor reset vs monitor reset halt behave differently on STM32 depending on DBGMCU_CR sleep/debug bits. If your firmware enables IWDG early, forgetting reset halt means you flash while the watchdog fires mid-write—bricked-looking board until you hold BOOT0. Document the exact GDB macro sequence in team wiki; we ship .gdbinit in repo root:
define flash_and_halt
  monitor swdp_scan
  attach 1
  load
  monitor reset halt
end
OpenOCD equivalent: reset init after program ... verify.
macOS and udev on Linux
macOS Sonoma: BMP appears as /dev/cu.usbmodem* (call) and /dev/tty.usbmodem* (dial-in)—use cu.usbmodem for GDB. Linux udev rule required for non-root access:
SUBSYSTEM=="tty", ATTRS{idVendor}=="1d50", ATTRS{idProduct}=="6018", MODE="0666", GROUP="plugdev"
Vendor ID varies by BMP firmware build; verify with lsusb.
RP2040 and BMP gap
BMP firmware lacks polished RP2040 dual-core support in our tested build—OpenOCD with picoprobe firmware on second Pico worked better for Cortex-M0+ bring-up. Keep BMP for STM32 bulk; do not force one probe for entire lab without verifying target list.
Serial Wire Output (SWO)
BMP does not replace SWO trace—need ST-Link or J-Link for ITM printf at speed. We use BMP for breakpoints, ST-Link V3 for 4 MHz SWO on optimization/debug split during performance sprints.
Supply chain and probe availability
Blue Pill STM32F103 clones vary—some lack 32 KB flash usable for BMP build. Buy two, flash both, keep spare. ST-Link clone for initial BMP flash is meta but reliable at $9.
GDB TUI and RTOS awareness
BMP does not ship RTOS thread awareness out of box—use OpenOCD RTOSPlugin when debugging FreeRTOS thread list matters. For breakpoint-only bring-up, BMP remains faster daily driver.
$4 plus an afternoon beats fighting OpenOCD board files for STM32 day-to-day work. Keep OpenOCD in the toolbox, not on your wrist.

Manish Bookreader
Electronics enthusiast, Embedded Systems Expert, Linux/Networking programmer, and Software Engineer passionate about AI, electronics, books, and cooking.